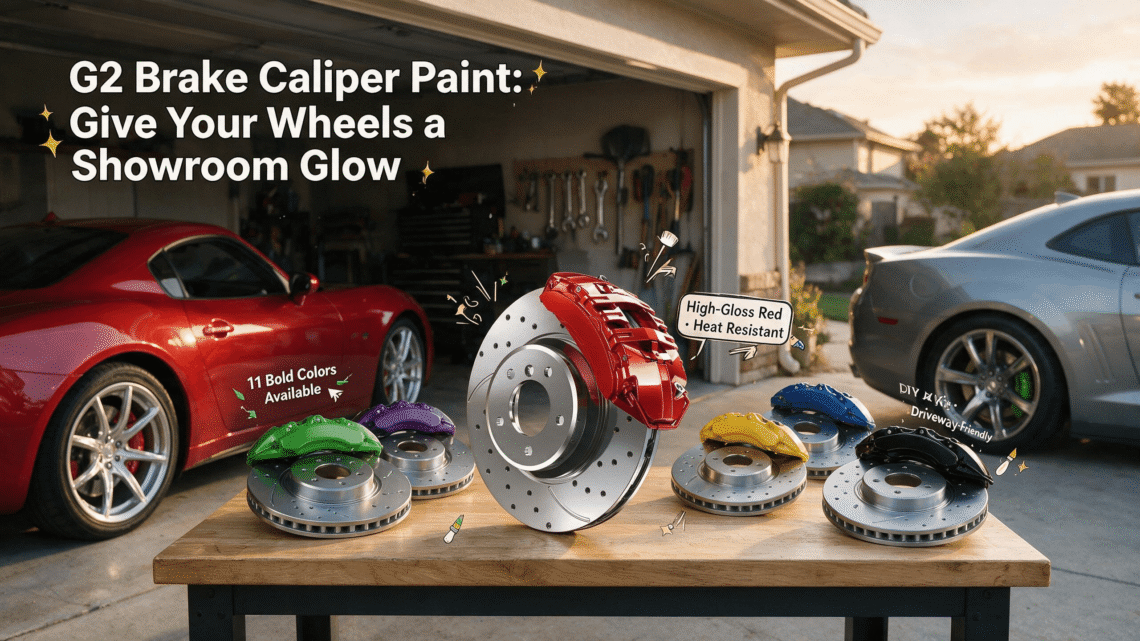
Walk down any row at a Saturday morning cars-and-coffee gathering, and your eyes inevitably perform a familiar diagnostic sweep. First comes the stance—how the fender lip meets the sidewall. Next is the wheel choice—forged monoblocks, classic multi-piece mesh, or crisp OEM alloys with open-spoke geometry. Then, almost without conscious effort, your gaze drops into the negative space behind the spokes.
What lives inside that wheel well tells the truth about how a vehicle is cared for. Modern wheel design has trended aggressively toward larger diameters and thinner, wider-spaced spokes. Twenty years ago, a fifteen-inch alloy hid nearly all of the braking hardware from view. Today, nineteen- and twenty-inch wheels act like picture frames. If what sits inside that frame is a oxidized, pitted slab of cast iron covered in baked-on carbon dust, the visual harmony of the entire build collapses. Conversely, when a caliper gleams with a deep, ceramic-like luster that either echoes the bodywork or slices through a monochromatic palette with deliberate contrast, the entire machine looks purposeful, engineered, and complete.
Yet for decades, automotive enthusiasts and detailers faced a frustrating binary when trying to address ugly calipers. On one side sat the cheap hardware-store rattle can: fifteen dollars and an afternoon of masking tape, rewarded three months later by yellowing clear coats, chipped edges around the bleeder screw, and paint that softened into a sticky mess the first time the brakes got genuinely hot on a mountain descent. On the other side sat full disassembly and professional powder coating: pulling the calipers off the knuckles, cracking open hydraulic lines, draining fluid, shipping components out for media blasting and oven baking, rebuilding piston seals, and bleeding the entire ABS system—a process costing hundreds or even thousands of dollars and leaving the car stranded on jack stands for weeks.
Enter G2 USA. Rather than accepting that driveway enthusiasts had to choose between disposable aerosol cosmetics and invasive mechanical teardown, G2 engineered a third path grounded in industrial polymer chemistry. By pioneering a two-part, catalyzed, brush-applied epoxy system formulated specifically for the thermal and chemical violence of the automotive wheel well, G2 transformed brake caliper refinishing from a temporary cover-up into a permanent architectural upgrade.
The Brutal Micro-Climate Living Inside Your Wheel Wells
To appreciate why conventional paints fail on brake hardware—and why G2 approaches the problem like a materials-science challenge rather than a cosmetic touch-up—you first have to understand what happens inside a wheel barrel at highway speeds. No other painted surface on an automobile endures a more hostile combination of destructive forces.
Your hood and fenders deal with ultraviolet radiation, rain, and the occasional bug splatter. Your brake calipers, however, live inside a literal furnace and sandblaster simultaneously. Every time you press the brake pedal, kinetic energy converts directly into thermal energy through friction between the pad and the rotor face. That heat radiates outward into the caliper bridge and piston housing. During spirited canyon driving, towing, or repetitive heavy stops, caliper surface temperatures routinely soar past 400°F, 600°F, and in high-performance scenarios, well toward the 800°F–900°F threshold.
Heat is only the opening act. Alongside thermal cycling comes a relentless barrage of chemical and mechanical abuse:
- Hygroscopic and Corrosive Brake Fluids: Glycol-ether brake fluids (DOT 3, DOT 4, and DOT 5.1) are infamous in the automotive world for acting as industrial paint strippers. A single drip during a routine brake bleed will blister, wrinkle, and lift standard acrylic or enamel coatings within minutes.
- Incandescent Metallic Fallout: Brake pads contain metallic compounds, aramid fibers, and abrasive resins. Under heavy braking, microscopic shards of superheated iron and carbon shear off the rotor and pad, embedding themselves into soft coatings and oxidizing when exposed to moisture.
- High-Velocity Aggregate Impact: Your front tires constantly sling coarse sand, pea gravel, and fractured asphalt directly into the inner wheel barrel, turning the inside of the rim into a centrifugal ricochet chamber.
- Alkaline Wheel Cleaners and Winter Brine: Between magnesium chloride road salts in the winter and aggressive acid- or high-pH wheel decontaminants at the wash bay, caliper finishes are chemically assaulted every week.
The Thermal Expansion Trap: Most people assume caliper paint peels solely because it burns. In reality, failure usually begins with differential thermal expansion. Cast iron and aluminum calipers expand and contract rapidly as they heat up and cool down. Single-stage aerosol paints cure by solvent evaporation, leaving behind a brittle, porous film. When the metal underneath expands under braking heat, a brittle aerosol film cannot flex cleanly with the substrate; micro-fissures form, moisture and road salt wick underneath the paint layer, and flakes begin lifting off in sheets.
Inside the Can: Why G2’s Two-Part Catalyzed Epoxy Changes the Rules
The core innovation behind the G2 Brake Caliper Paint System lies in abandoning single-component solvent evaporation in favor of a true chemical cross-linking reaction. When you open a G2 kit, you are not looking at thinned-out spray paint decanted into a tin. You are looking at a two-component (2K) thermosetting epoxy resin system paired with a dedicated chemical reactor catalyst.
When the G2 base resin and the reactor liquid are blended together, they initiate an irreversible polymerization process. Instead of waiting for carrier solvents to float into the air and leave solid pigment particles loosely stacked on the metal, the molecules in G2’s formula chemically bond to one another in a dense, three-dimensional lattice while simultaneously anchoring into the microscopic pores of the cast iron or aluminum caliper casting.
How G2 Compares to Traditional Caliper Finishing Methods
| Performance Metric | Standard High-Temp Aerosol Spray | G2 Two-Part Catalyzed Epoxy System | Off-Car Professional Powder Coating |
|---|---|---|---|
| Chemical Structure | 1K solvent-evaporative enamel/acrylic | 2K cross-linked thermosetting epoxy | Electrostatically applied dry polymer baked in oven |
| Maximum Thermal Rating | Typically 400°F–500°F intermittent | Up to 980°F continuous/peak resistance | 400°F–550°F (can discolor at extreme track temps) |
| Resistance to DOT Brake Fluid | Poor; softens and wrinkles rapidly | Impervious once fully cured | High, though susceptible to under-film creep if chipped |
| Caliper Removal & Hydraulic Bleed | Optional (requires massive masking if left on) | Not required; zero hydraulic system intrusion | Mandatory complete removal, seal teardown, and bleeding |
| Surface Profile & Gloss | Thin film; mirrors rough casting texture | High-build self-leveling; fills casting porosity | Thick, smooth finish; requires piston bore plugging |
| Overspray Risk | Extreme; threatens rotors, suspension, and body panels | Zero; precision brush application | None on vehicle (done off-site) |
| Typical Cost & Downtime | Low cost / 4–6 hours (short lifespan) | Moderate kit cost / 24 hours total cure | $500–$1,500+ / 1 to 3 weeks on jack stands |
The Magic of Self-Leveling Rheology
Ask anyone who hears the phrase “brush-on car paint” for the first time, and you will see an immediate grimace. Everyone pictures painting a backyard wooden fence—thick, ropy bristle tracks, uneven ridges, and drips frozen in time. That skepticism vanishes the first time a builder watches G2 epoxy settle onto a caliper bridge.
G2 engineered the viscosity and surface tension of its catalyzed mixture to be self-leveling. As you lay a wet coat onto the rough, sand-cast surface of an OEM brake caliper, the epoxy naturally flows into the microscopic valleys and casting marks. Over the course of several minutes, surface tension pulls the outer skin of the coating taut. Brush strokes melt into one another, curing into a thick, glass-smooth, high-gloss shell that mimics the visual depth of dipped porcelain or wet powder coat. Because the solids content of the two-part epoxy is vastly higher than that of an aerosol—which must be diluted with up to 70% propellant and thinners just to pass through a tiny spray nozzle—two coats of G2 build a protective barrier several times thicker than half a dozen passes with a spray can.
Shop Talk: A Saturday Morning in the Garage
To understand how this translates from polymer chemistry to real-world wrenching, imagine a typical conversation between two enthusiasts—Maya, who has restored three track-prepped sport sedans, and Julian, who just picked up a clean daily-driver coupe with faded, chalky gray calipers behind a fresh set of bronze wheels.
Julian: “I bought four rolls of painter’s tape and a pack of plastic drop cloths. I’m going to mask off the entire quarter panel and spray the calipers this afternoon.”
Maya: “Put the plastic sheets back in the pantry. Have you ever actually tried masking around a floating caliper while it’s still bolted to the steering knuckle?”
Julian: “How hard can it be? You just tuck paper behind the rotor.”
Maya: “Until a gust of wind catches the plastic, or propellant mist sneaks through a two-millimeter gap around the ABS sensor wire and leaves a permanent red haze all over your black coilover springs and rubber brake hoses. Plus, spray paint is so thin that every single sand-cast bump on that factory iron caliper is still going to show right through.”
Julian: “Well, I’m definitely not disconnecting the brake lines and dealing with bleeding the ABS pump in my driveway.”
Maya: “You don’t have to. Grab a G2 epoxy kit. You jack the car up, pull the wheels, scrub the castings down with their cleaner, mix the catalyst into the tin, and brush it right on. No overspray on your suspension, no paint on your rubber dust boots, and when it cures tomorrow morning, it’ll look like you paid a shop eight hundred bucks to powder coat them.”
That exact exchange plays out in garages, club forums, and paddock stalls every weekend. By eliminating propellant mist, G2 turns a chaotic masking nightmare into a calm, methodical detailing session.
Color as Architecture: Exploring the G2 Palette and Custom OEM Matching
Color on a brake caliper operates differently than color on any other part of an automobile. Because the caliper sits recessed behind a rotating metallic wheel grid, it is viewed in shadow, framed by dark tire rubber and bright machined rotor hats. A shade that looks loud on a large door panel can look sophisticated and jewel-like when concentrated onto a six-piston caliper housing.
G2 USA structures its aesthetic lineup into two distinct philosophies: The Signature High-Gloss Standard Series and the bespoke Custom OEM Color Match Program.
1. The Signature Standard Series: Eleven Iconic Statements
Each shade in G2’s core lineup is formulated with high-opacity, UV-stable pigments designed to resist color shift even after hundreds of heat cycles up to 980°F. Rather than offering muddy, generic hardware-store primaries, G2 curates colors that speak fluent automotive design language:
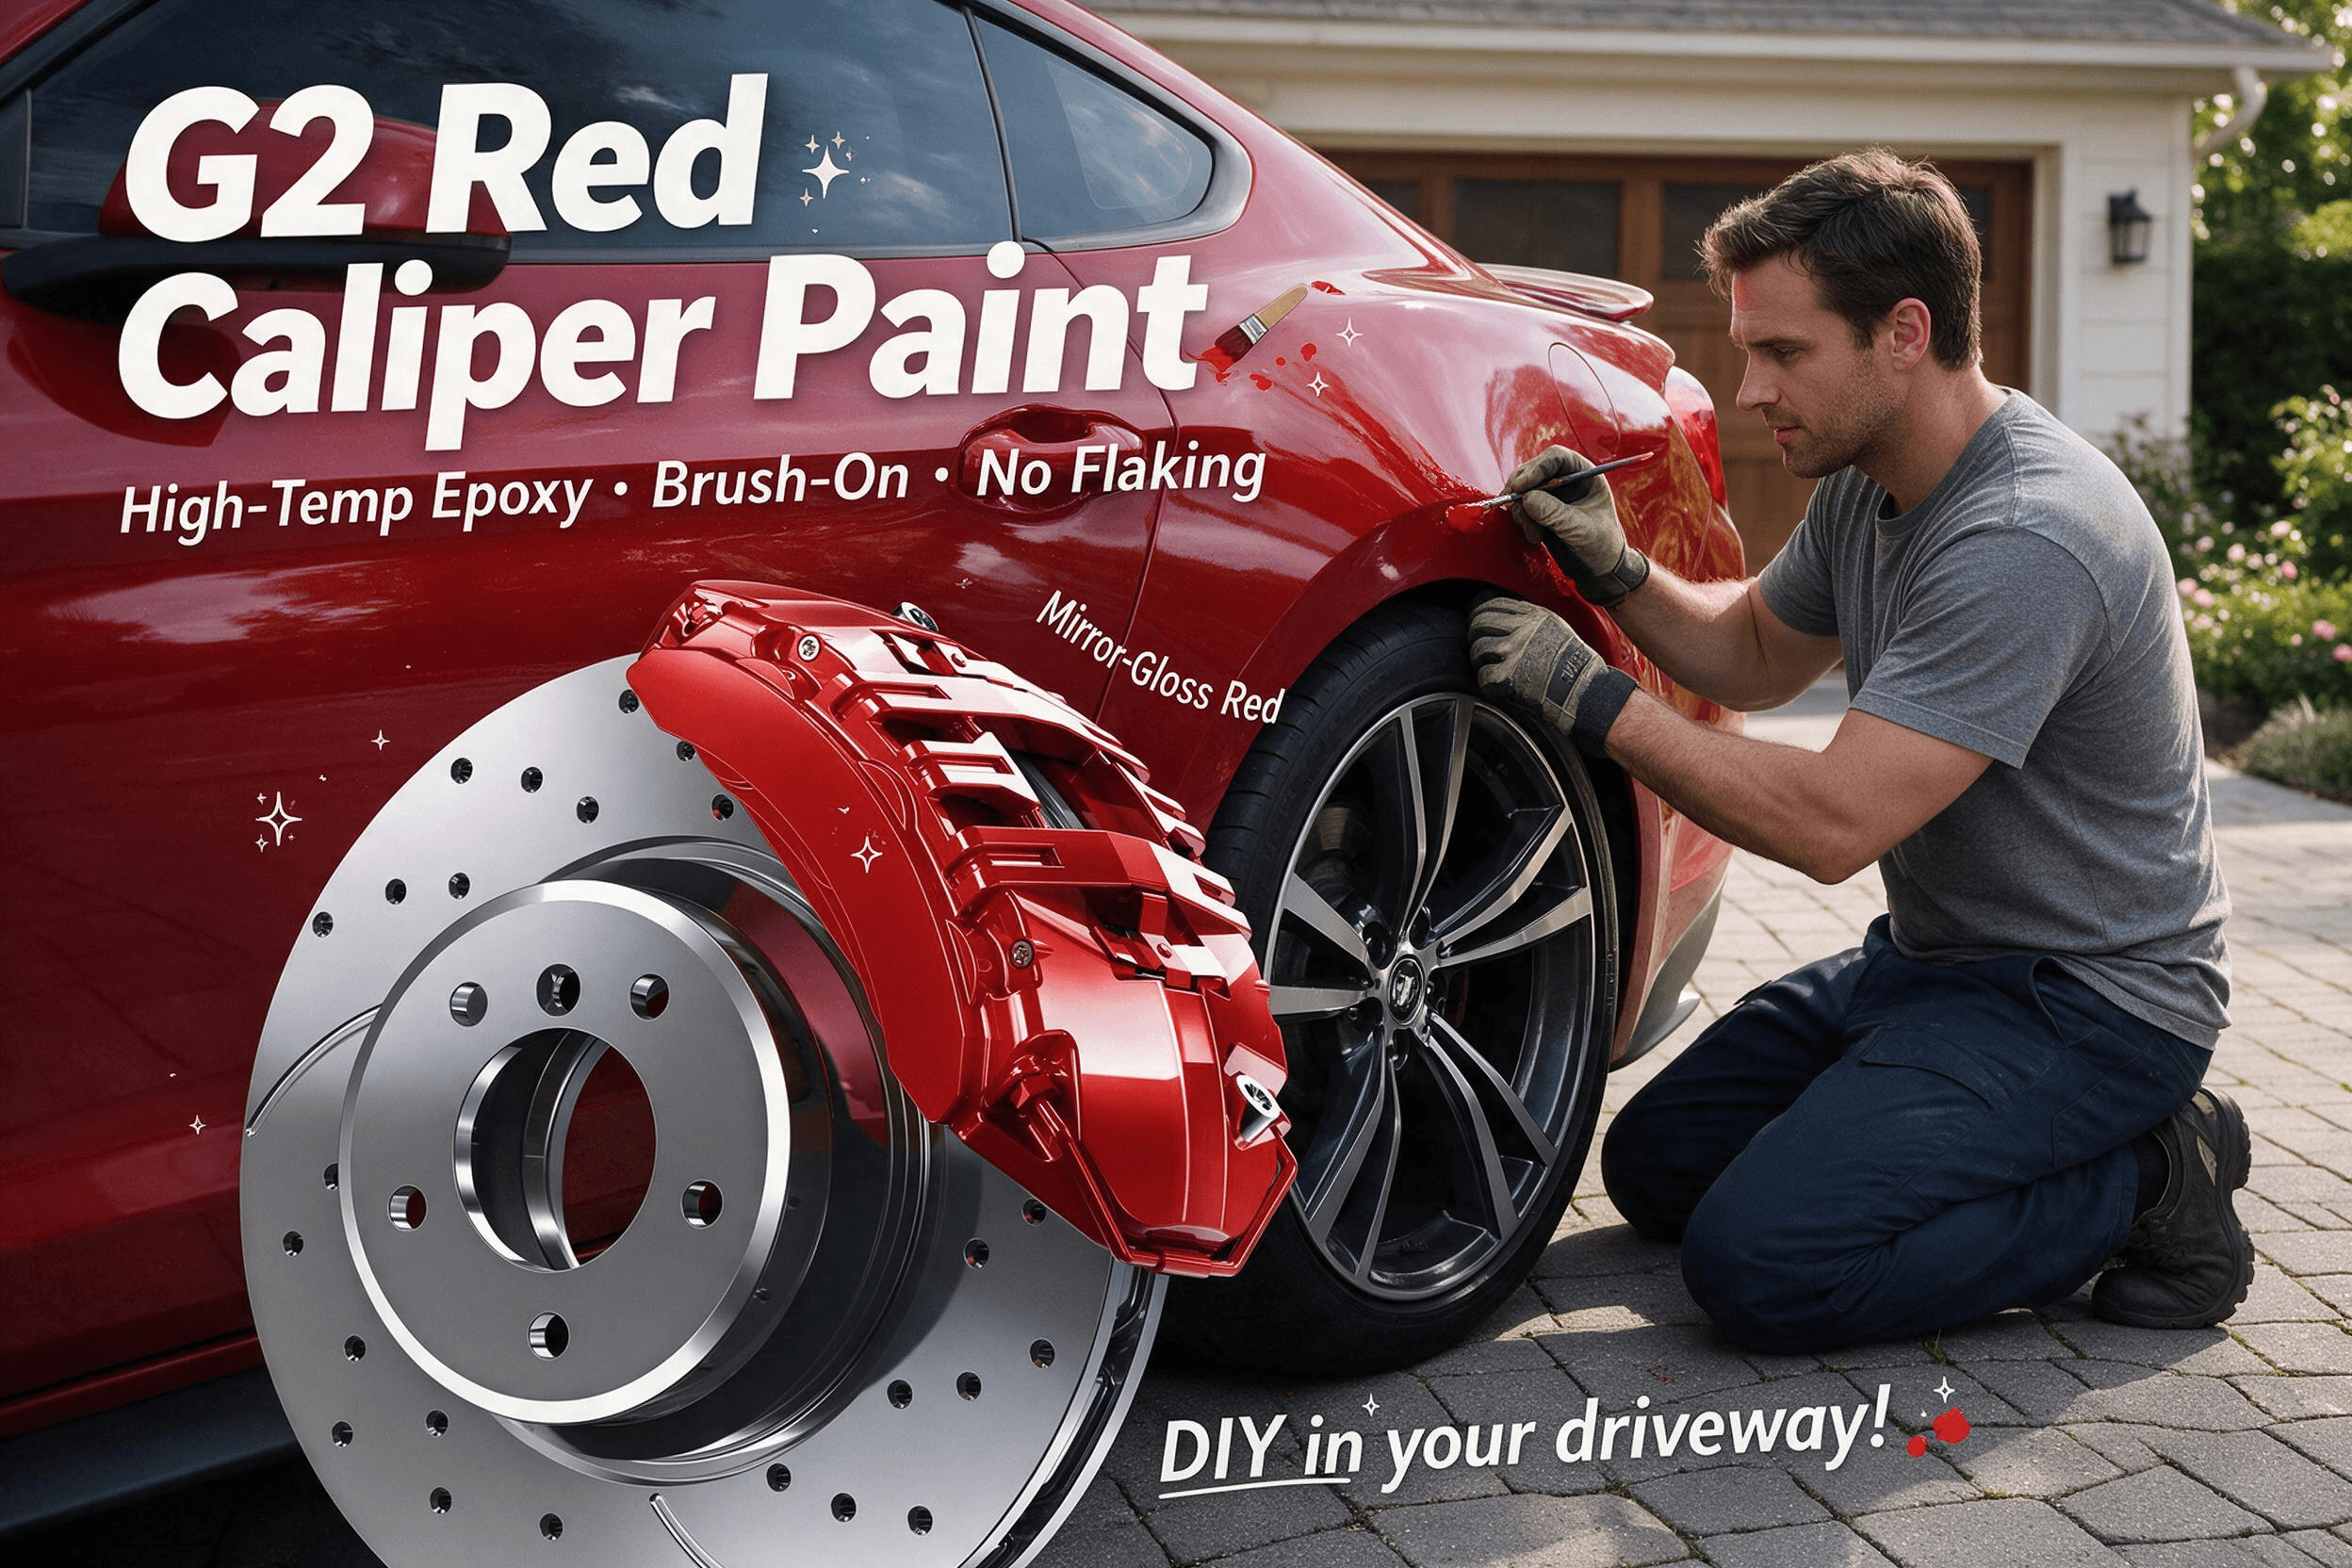
- G2 Red: The undisputed benchmark of motorsport heritage. Deep, saturated, and unapologetically bold, it creates an instant visual focal point behind silver, gunmetal, or gloss-black wheels.
- G2 Yellow & G2 Gold: Derived from the visual vocabulary of European endurance racing and carbon-ceramic brake indicators. Yellow delivers electric contrast against dark blue, British racing green, or charcoal paintwork, while Gold offers a warmer, metallic richness suited to JDM icons and grand tourers.
- G2 Lime Green & G2 Orange: High-visibility kinetic hues designed for modern performance builds, electric vehicles with regenerative-braking callouts, and aggressive street-track hybrids.
- G2 Blue: A rich, royal cobalt tone that bridges the gap between aggressive sportiness and factory-plus refinement, popular on hot hatches, sport wagons, and performance hybrids.
- G2 Black & G2 Silver: The “OEM+ Stealth” essentials. Not every vehicle wants its brakes shouting for attention. For luxury cruisers, vintage restorations, and minimalist builds, a glass-smooth coat of G2 Black or Silver eradicates unsightly rust while letting intricate multi-spoke wheels remain the undisputed star.
- G2 Purple, Pink, & White: Expressive, show-stopping finishes for builders who treat their wheel wells as a true custom canvas. White, in particular, showcases G2’s chemical resistance—where ordinary white paint turns brown from brake dust within a week, G2’s non-porous epoxy glaze wipes clean with simple soap and water.
2. The Custom Color Match System: Factory Harmony Down to the Paint Code
While contrasting calipers are a classic performance trope, one of the most sophisticated trends in modern automotive styling is body-matched braking hardware. When a caliper is finished in the exact factory metallic, pearl, or solid hue of the car’s exterior fenders, the visual tie-in feels bespoke—like a factory commissioning department build.
G2’s Custom Color Match Brake Caliper Paint System brings this coachbuilt aesthetic directly to the enthusiast’s garage. Using your vehicle’s specific factory OEM paint code—whether it is a subtle German slate gray metallic, a vibrant American muscle car pearl, or a heritage Japanese coupe shade—G2 custom-blends the pigment directly into their 980°F two-part epoxy base. You get exact factory color continuity without sacrificing a single degree of thermal stability or chemical armor.
The Visual Styling Matrix: Choosing the Right Caliper Strategy for Your Build
Not sure whether your vehicle calls for high-contrast drama, tonal harmony, or stealthy OEM restoration? Use this design matrix to pair your exterior paint and wheel finish with the ideal G2 direction:
| Exterior Body Color | Wheel Finish | Recommended G2 Caliper Direction | The Visual Effect Created |
|---|---|---|---|
| Obsidian Black / Dark Charcoal | Brushed Clear or Machined Silver | G2 Red or G2 Yellow | Classic supercar contrast; draws the eye immediately through the bright spokes into a vibrant mechanical core. |
| Alpine White / Chalk Gray | Satin Black or Dark Gunmetal | G2 Blue, G2 Lime Green, or G2 Orange | Modern motorsport pop; breaks up the stark stormtrooper monochrome with a razor-sharp splash of color. |
| Deep Metallic Blue | Bronze or Gold Alloy | G2 Gold or G2 Black | Rally-bred sophistication; Gold echoes the wheel tone while Black prevents primary-color clashing. |
| Guards Red / Crimson | Silver, Chrome, or Anthracite | G2 Custom OEM Body Match or G2 Black | Prevents “two different reds” clashing; either match the exact factory red code or ground the wheel well in deep gloss black. |
| British Racing Green / Emerald | Champagne Silver or Hyper Silver | G2 Yellow or G2 Gold | Timeless heritage grand-touring palette; warm metallics and yellows complement deep botanical greens effortlessly. |
| Vintage / Classic Restorations | Polished Lip / Period-Correct Alloys | G2 Silver or G2 Black | Period-authentic preservation; seals cast iron against rust forever while maintaining a factory-correct silhouette. |
Anatomy of a Complete System: What Arrives in the G2 Box
One of the quiet frustrations of DIY automotive projects is discovering halfway through a job that you bought a “product” rather than a “system.” You buy a can of coating, only to realize you need a specialized degreaser that doesn’t leave petroleum film behind, a mixing vessel that won’t melt when exposed to solvents, and an applicator brush that won’t shed bristles into tacky resin.
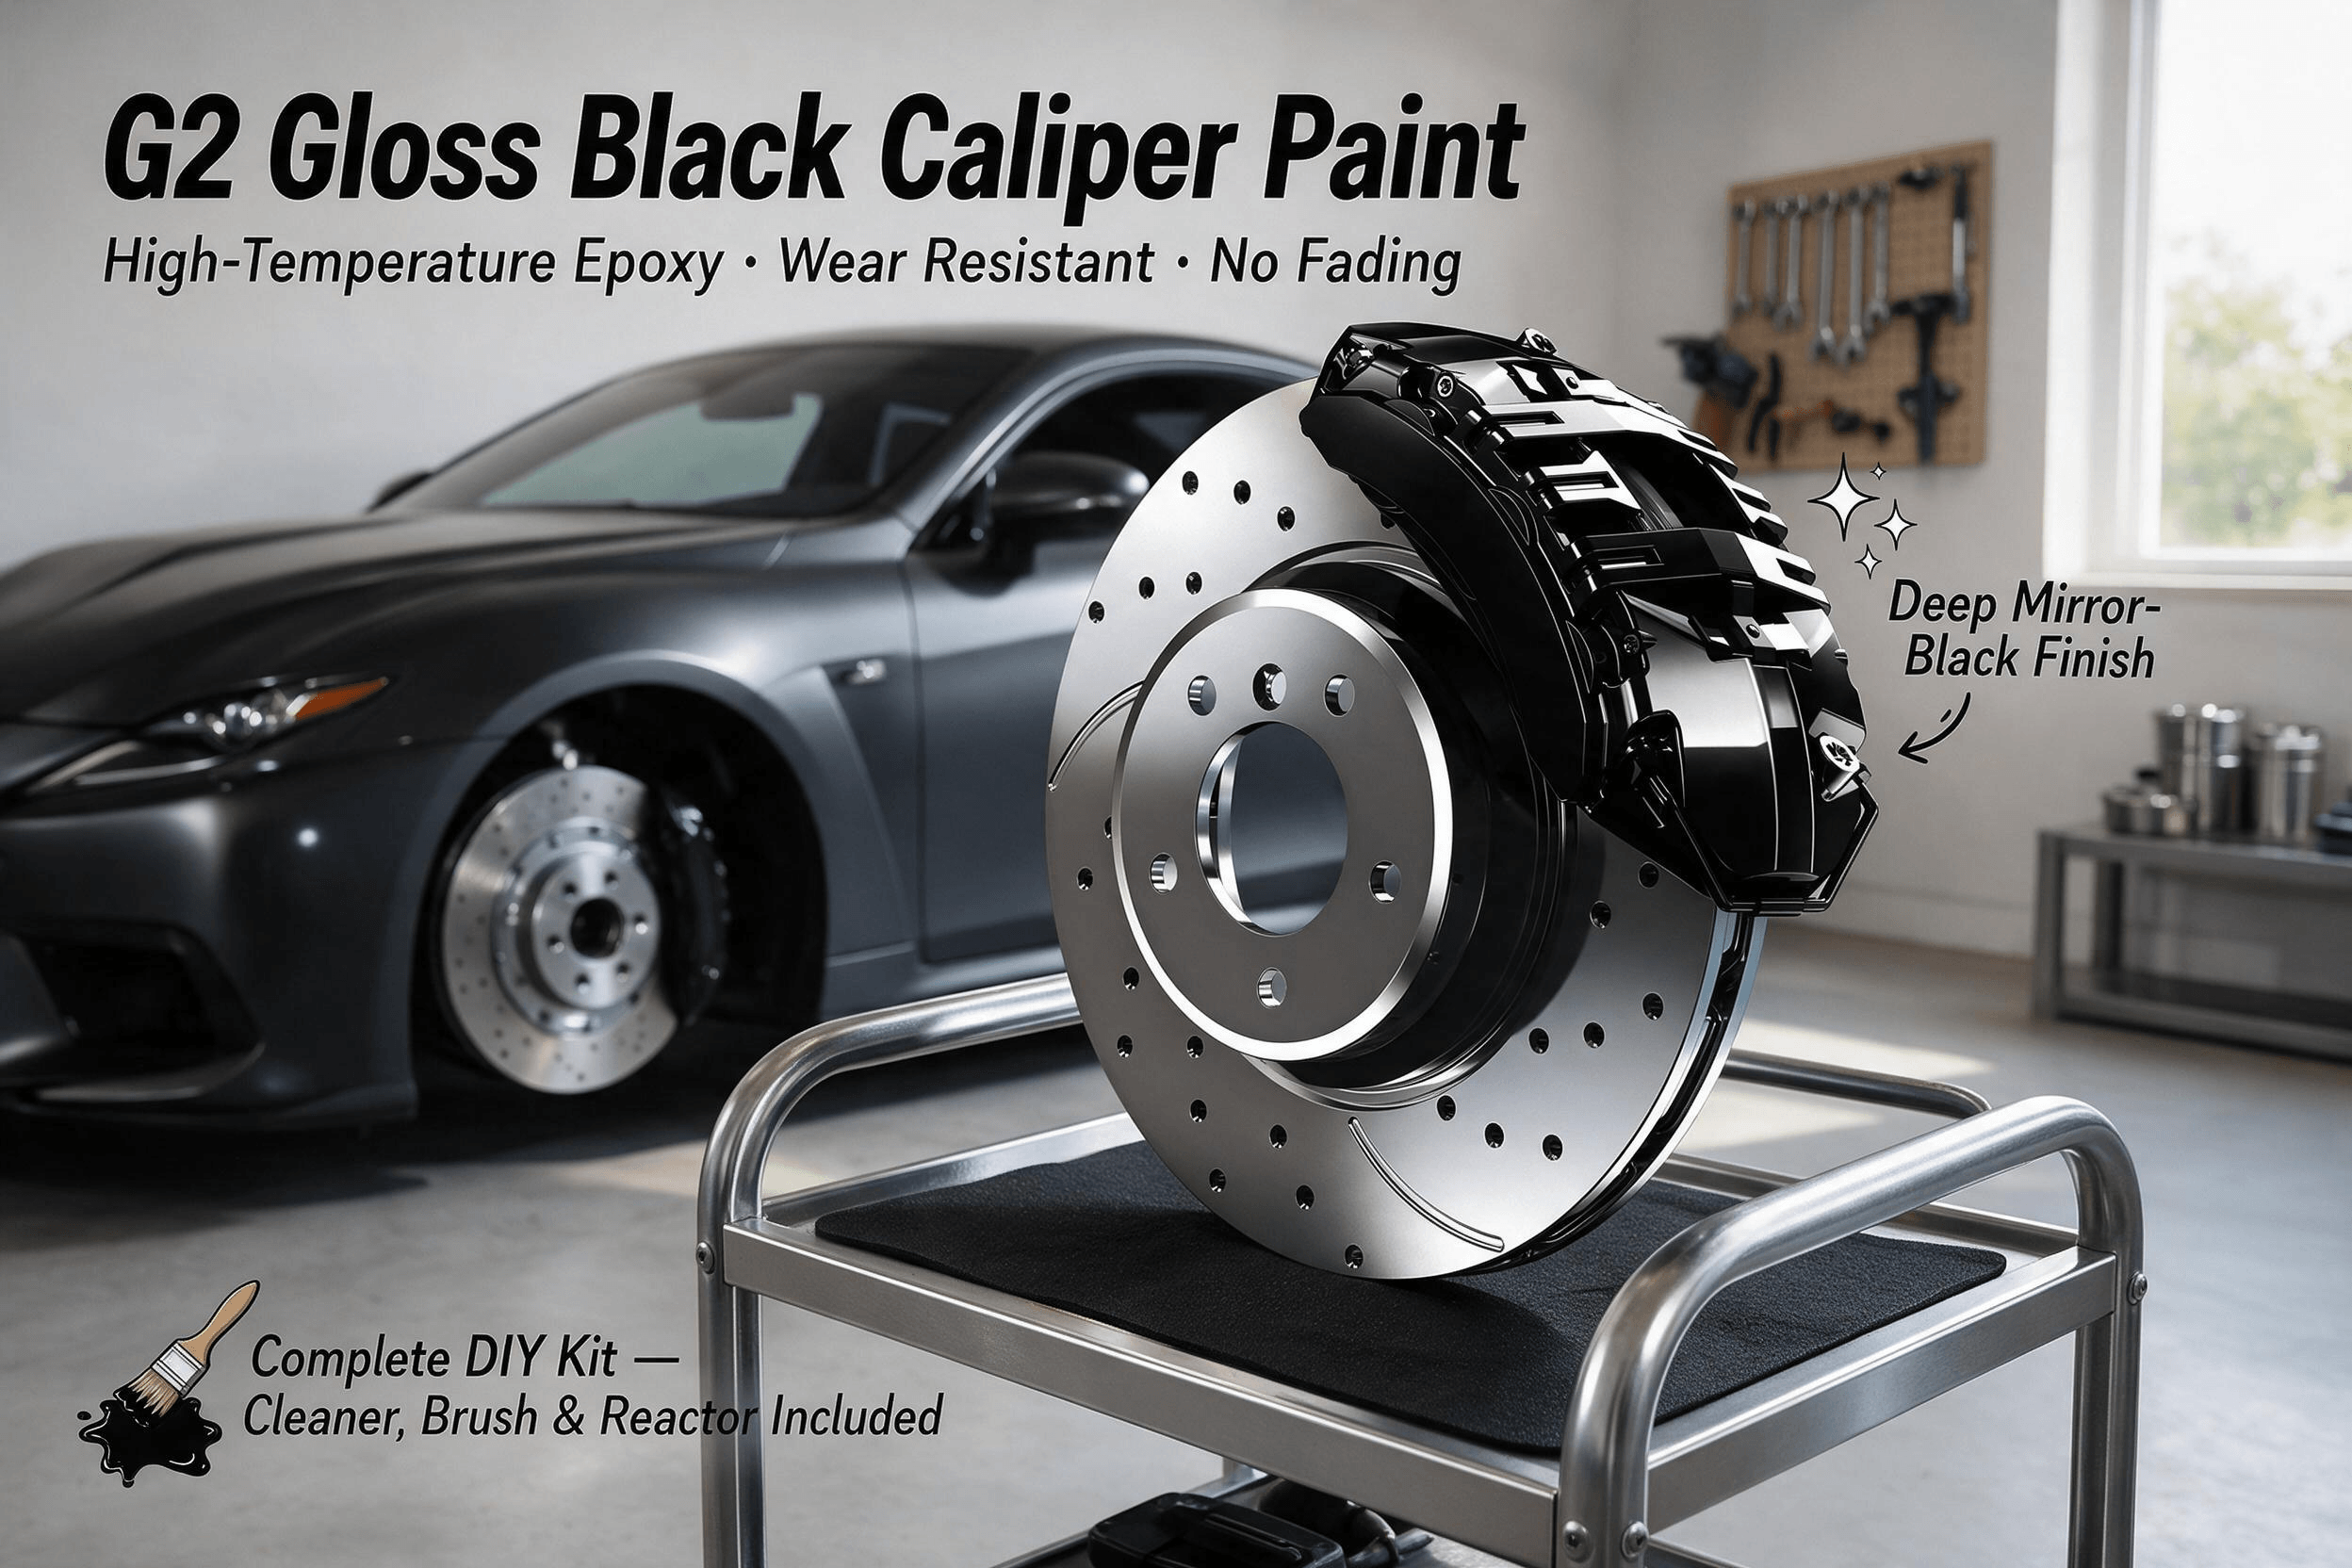
Every G2 USA Brake Caliper Paint System Set—assembled by hand in the United States—is packaged as a self-contained chemical workflow:
- G2 Specialized Brake Caliper Cleaner (Aerosol): Ordinary shop degreasers and household cleaners often contain surfactants or light oils that leave an invisible hydrophobic film on metal, ruining epoxy adhesion. G2 includes a dedicated, high-pressure aerosol brake cleaner formulated to strip away silicone residue, road tar, grease, and loose carbon dust while flashing off completely dry with zero residue.
- G2 High-Temp Epoxy Base Paint (Metal Tin): Pre-measured in a heavy-duty metal container with extra headspace specifically calculated so you can pour the catalyst directly into the tin and stir without spilling.
- G2 Glass Vial Reactor (Catalyst): Housed in a sealed glass container to ensure zero chemical degradation or moisture contamination prior to activation.
- Dedicated Application Brush & Mechanical Stirrer: Selected to handle the specific viscosity of catalyzed epoxy without splaying or dropping loose hairs into the finish during application.
- Comprehensive Step-by-Step Technical Manual: Written by technicians who understand cure windows, ambient temperature variables, and multi-coat timing.
100% American Formulated & Hand-Packed: In an era when countless automotive aftermarket accessories are white-labeled from overseas factories with inconsistent batch quality, G2 USA formulates, blends, and hand-packages its kits domestically. That tight quality control ensures that the pot life, pigment dispersion, and thermal tolerances remain identical whether you are painting your first set of calipers or your tenth.
The Masterclass Workflow: How to Achieve a Concours-Level Finish in Your Driveway
While G2’s self-leveling formula is remarkably forgiving, the difference between a “good ten-foot paint job” and a show-stopping finish that looks like wet glass up close comes down to preparation and pacing. Because you are working with a live chemical reaction once the catalyst hits the paint, preparation happens before you ever crack the seal on the reactor vial.
Phase 1: Elevation and Mechanical Decontamination
Never attempt to paint one corner of the car at a time by jacking up a single wheel, mixing a tiny drop of epoxy, and repeating the process four times. Once the G2 reactor is poured into the paint tin, the entire batch begins its curing clock—typically offering a 4- to 6-hour working pot life depending on ambient temperature and humidity.
Put the entire vehicle safely onto four jack stands on level concrete and remove all four wheels at once. With the calipers fully exposed, inspect the castings. Use a stiff brass or stainless-steel wire brush to scrub away any loose surface scale, flaking factory clear coat, or caked-on brake pad deposits around the pad retaining pins and bridge corners. If you want an ultra-smooth “shaved” look, you can even take a flap wheel or coarse sandpaper to knock down the sharp factory casting seams on the face of the caliper before cleaning.
Phase 2: The Chemical Purge
Take the included can of G2 Brake Cleaner and thoroughly saturate every millimeter of all four calipers. Watch the dark runoff carry away years of embedded carbon dust. Pay special attention to the recessed pockets around the bleeder valves, the back of the caliper fingers, and the mounting bracket shoulders. Wipe the castings down with a lint-free shop towel, hit them with a second final rinse of G2 cleaner, and allow them to air-dry completely for 15 to 20 minutes until every trace of solvent has evaporated from the metal pores.
Phase 3: Surgical Masking (Minimal Effort, Maximum Precision)
Because you are brushing rather than spraying, you do not need to wrap your fenders or suspension arms in plastic. Simply take a few strips of high-quality painter’s tape and mask off the elements located immediately on the caliper itself:
- The rubber piston dust boots (though caliper faces rarely expose these directly).
- The rubber bleeder screw cap and the hex base of the bleeder nipple so it remains easy to wrench open during future brake fluid flushes.
- Any exposed stainless-steel anti-rattle clips, pad backing plates, or wear-sensor wires that you do not want painted the same color as the caliper body.
Phase 4: Catalyzing the Batch
Check your garage thermometer. G2 epoxy performs best when applied in ambient temperatures between 56°F and 70°F (13°C to 21°C) with low to moderate humidity. Avoid working in direct blazing sunlight or on calipers that are still warm from driving.
Open the paint tin and use the wooden stir stick to bring any settled bottom pigment up into suspension. Next, pour the entire contents of the glass reactor vial into the paint tin. Stir slowly, steadily, and thoroughly for two full minutes, scraping the bottom edges of the can to ensure 100% homogeneous cross-linking. Do not whip air bubbles into the liquid—think of folding a rich glaze rather than beating eggs. Let the catalyzed mixture sit undisturbed for 5 minutes to allow any micro-bubbles to rise and pop.
Phase 5: The Rotational Coat Technique
Start at the front left caliper and apply a thin, even first coat using smooth, deliberate brush strokes. Do not panic if the first coat looks slightly translucent—especially with bright pigments like Yellow, Orange, or Lime Green over dark gray cast iron. The goal of Coat #1 is substrate wetting and chemical anchoring, not 100% visual opacity.
Work your way around the car in a circle: Front Left → Front Right → Rear Right → Rear Left. By the time you finish brushing the fourth caliper (usually 15 to 20 minutes later), the first caliper will have tacked up just enough to accept its second coat.
When applying Coat #2 (and Coat #3 if desired for high-key colors), load the brush generously enough to let the epoxy flow out, keeping an eye on lower edges and bridge overhangs so you can catch and feather out any heavy drips before they set. Watch how the epoxy self-levels within minutes of your brush leaving the surface, transforming into a deep, mirror-like skin.
Phase 6: Respecting the Cure Timeline
Patience at the finish line protects your hard work:
- At 15–20 Minutes Between Coats: The surface transitions into a tacky state ideal for chemical bonding with the next layer of epoxy.
- At 2 Hours Post-Completion: The epoxy reaches initial surface set. You can carefully peel away your masking tape (pulling at a sharp 45-degree angle while the edge still has slight give) and gently reinstall your wheels without letting the inner barrel bump the caliper face.
- At 24 Hours Post-Completion: Full chemical cross-linking is achieved for road use. Keep the vehicle parked for a full 24 hours before driving and subjecting the calipers to high-temperature braking cycles or highway road debris.
Beyond the Caliper: Unexpected Places Builders Use G2 Epoxy
While brake calipers are the namesake canvas for G2 USA, experienced fabricators and restoration specialists quickly realized that a brush-on, self-leveling, 980°F chemical-proof epoxy solves half a dozen other chronic eyesores under a vehicle:
- Rotor Hats and Vented Outer Edges: Even brand-new premium brake rotors frequently develop ugly orange surface rust on the non-friction center hat and outer cooling vanes after a single rainstorm. Brushing G2 Black or G2 Silver onto the rotor hat (carefully keeping off the swept pad friction face) keeps rotors looking crisp and corrosion-free for the life of the disc.
- Rear Brake Drums on Trucks and Classic Cars: Drum brakes are massive cast-iron cylinders that dominate the view behind rear truck wheels. Coating drums in G2 Satin-smooth Black or Silver turns an agricultural-looking casting into a clean, showroom-fresh component.
- Engine Blocks, Cylinder Heads, and Valve Covers: Because G2 laughs at motor oil, coolant spills, fuel vapor, and temperatures approaching 1,000°F, engine builders regularly use it to detail cast-iron engine blocks and aluminum valve covers where ordinary engine enamels blister around exhaust ports.
- Differential Covers and Suspension Knuckles: Off-road builders and restomod crafters use G2 to armor exposed rear axle housings and cast suspension uprights against rock chips and winter salt corrosion.
Debunking the Four Biggest Myths About Caliper Painting
Whenever caliper refinishing comes up in automotive circles, a few persistent myths surface—almost all of them born from bad experiences with cheap spray cans. Let’s separate garage folklore from engineering reality.
Myth 1: “Painted calipers trap heat and cause brake fade.”
The Reality: A two-coat application of G2 epoxy measures only a few mils in thickness. Meanwhile, the vast majority of brake heat is dissipated through the rotating cast-iron rotor vanes and carried away by airflow, with a secondary portion absorbed by the brake fluid and mounting hardware. In fact, professional motorsport calipers from top-tier OEM suppliers come coated in thick baked finishes or anodized/painted shells right from the factory. G2 protects the metal from insulating layers of flaky rust scale without impeding thermal performance.
Myth 2: “One kit isn’t enough for big multi-piston performance calipers.”
The Reality: Because G2 is a high-solids liquid applied by brush, virtually 100% of the paint in the tin goes directly onto your calipers—unlike aerosol cans where over half the contents evaporate into the air or land on masking paper. A single standard G2 kit contains more than enough catalyzed epoxy to apply two to three full, generous coats across four large four- or six-piston performance calipers, or four standard calipers plus two rear brake drums.
Myth 3: “If I apply stencils or high-temp vinyl decals, they will peel off.”
The Reality: Enthusiasts routinely apply high-temperature vinyl logos or stencils onto G2 finishes with phenomenal results. Once the G2 base coat has cured for 24 hours into a hard, glass-smooth surface, high-temp vinyl decals adhere far better to the slick epoxy than they ever could to rough, porous bare metal.
Myth 4: “Once brake dust gets on painted calipers, you have to scrub them with harsh acids.”
The Reality: Bare cast iron is like an English muffin—full of tiny craters that trap microscopic iron particles from your brake pads. When you coat that iron with G2, the self-leveling epoxy fills and seals those craters under a slick, non-porous barrier. Brake dust sits harmlessly on top of the gloss finish rather than baking into the pores. During a normal car wash, a gentle stream of water and pH-neutral car shampoo is usually all it takes to restore the showroom shine.
Long-Term Stewardship: Keeping Your G2 Finish Looking Day-One Fresh
Once your G2 system has passed its 24-hour cure window and undergone its first few thermal cycles on the road, the epoxy hardens into a remarkably low-maintenance shield. Still, treating your newly finished hardware with smart detailing habits will keep the gloss looking liquid-deep for years to come:
- Ditch the Acidic Wheel Brighteners: You no longer need caustic, hydrofluoric-acid wheel cleaners to blast rust stains off your brakes. Stick to pH-balanced wheel soaps and a soft microfiber wheel woolie that reaches comfortably between the spokes.
- Top with a Ceramic Wheel Coating (After Full Cure): If you want even more hydrophobic self-cleaning behavior, wait one full week after applying G2, then wipe the calipers down with an SiO2 ceramic wheel coating. Water and muddy road grime will bead and sheet off the epoxy effortlessly.
- Inspect During Seasonal Tire Rotations: Every time your wheels come off for a summer/winter tire swap or brake pad inspection, take two minutes with a damp microfiber towel and quick detailer to wipe down the inner caliper bridge and piston housing. You will be amazed at how a five-year-old G2 finish still gleams like the day you pulled the masking tape.
The Final Verdict: Why Details Behind the Wheel Define the Build
Great automotive design has never been about a single loud modification; it is about the absence of neglected details. You can spend thousands of dollars on paint correction, ceramic coatings, coilovers, and forged wheels, yet if the hardware sitting right at the center of each wheel well looks tired and corroded, the illusion of perfection breaks.
G2 USA understood this over two decades ago and refused to compromise on the chemistry required to solve it properly. By putting a legitimate 980°F, two-part catalyzed epoxy system into the hands of everyday enthusiasts and professional detailers—complete with residue-free prep chemistry, zero-overspray brush application, self-leveling gloss, and eleven signature hues alongside exact OEM factory color matching—G2 turned one of the most intimidating zones on a vehicle into one of the most rewarding weekend upgrades you can perform.
The next time you walk back toward your parked car and your eyes naturally trace the line of the fenders down to the wheels, imagine what you want to see framed behind those spokes. With a jack, a Saturday morning, and a tin of G2 epoxy, that vision is only twenty-four hours away from hitting the pavement.